nuwave oven user manual
NuWave Oven User Manual: A Comprehensive Guide
Navigating this manual unlocks the NuWave Oven’s potential‚ offering insights from diverse user experiences – from quick meals for busy lifestyles
to achieving crispy textures and efficient cooking‚ despite some concerns regarding cleaning and storage space.
Understanding Your NuWave Oven
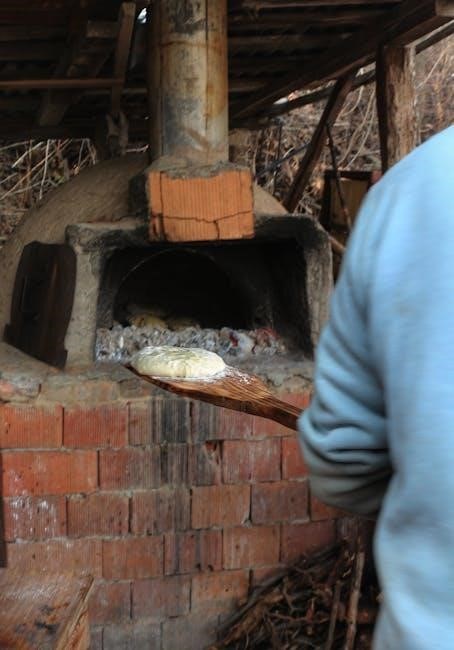
The NuWave Oven represents a unique approach to cooking‚ utilizing conduction‚ convection‚ and radiant heat to prepare meals quickly and efficiently. Unlike traditional ovens requiring lengthy preheating‚ the NuWave heats rapidly‚ making it ideal for individuals with limited time‚ as highlighted by user testimonials.
However‚ it’s crucial to understand this isn’t a direct replacement for conventional ovens or rotisseries. While capable of producing satisfactory results – even crispy chicken skin in under 30 minutes – some users suggest that dedicated marination and preparation might be better suited to traditional methods. The oven’s core functionality revolves around a cooking well and a dome‚ creating a self-contained cooking environment.
It’s important to note that experiences vary; some find it superior for specific foods like chicken and broccoli‚ while others experienced difficulty with cleaning and perceived minimal improvement over standard oven cooking. Understanding these nuances will help you maximize your NuWave Oven experience.
Unboxing and Initial Setup
Upon unboxing your NuWave Oven‚ carefully inspect all components. You should find the oven base‚ the cooking dome‚ the extension ring (if included)‚ and potentially a recipe book or quick-start guide. Ensure no parts are damaged during shipping. Before first use‚ thoroughly wash the cooking well and dome with warm‚ soapy water – a step emphasized by users due to potential manufacturing residue.
Initial setup is straightforward. Place the oven on a stable‚ heat-resistant surface with adequate ventilation. Avoid placing it near flammable materials. Familiarize yourself with the control panel; while seemingly complex‚ it primarily governs temperature and cooking time. Some models allow for up to 99 hours of continuous operation‚ a feature appreciated by certain users;
It’s recommended to perform a brief test run with a small amount of water to burn off any residual odors from the manufacturing process. This initial setup ensures optimal performance and prepares the oven for your first culinary creation;
Key Components and Their Functions
The NuWave Oven centers around its core components: the oven base‚ housing the heating element‚ and the distinctive cooking dome. This dome‚ crafted from conductive material‚ efficiently transfers heat to food‚ promoting even cooking and crispy results – a feature frequently praised by users for items like chicken breasts. The cooking well‚ positioned beneath the dome‚ collects drippings and facilitates easy cleanup.

The extension ring‚ an optional accessory‚ increases the oven’s capacity‚ accommodating larger dishes. The control panel governs temperature and time settings‚ allowing precise control over the cooking process. Understanding these settings is crucial for optimal results. Some users have adapted the system using induction-ready pans and buffering materials like reptile sand to maintain precise temperatures.
Proper function relies on the interplay of these parts‚ delivering rapid cooking times and versatile performance‚ though cleaning can be challenging due to the oven’s size and shape.
Operating Instructions
Begin by powering on the NuWave Oven and utilizing the control panel to set desired cooking times and temperatures‚ leveraging its 99-hour timer for extended recipes.
Powering On and Basic Controls
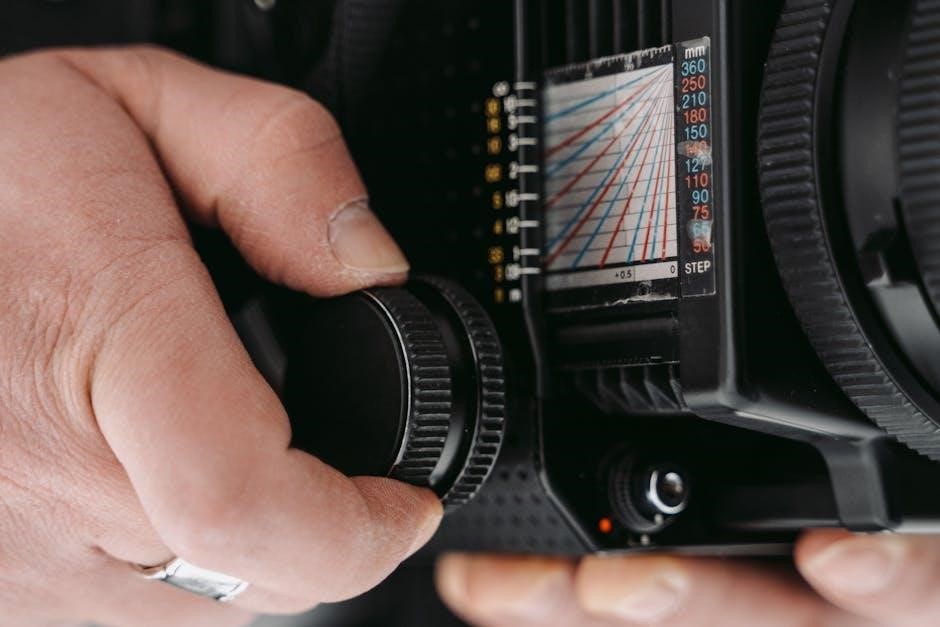
To initiate operation‚ firmly plug the NuWave Oven into a grounded electrical outlet. The power button‚ typically located on the front control panel‚ activates the unit. Upon powering on‚ the digital display illuminates‚ presenting options for time and temperature adjustments.
Basic controls involve navigating the timer and temperature settings using dedicated buttons or a dial. Users can precisely set cooking durations‚ with some models offering a maximum timer of 99 hours – ideal for prolonged‚ low-temperature cooking. Temperature adjustments are similarly straightforward‚ allowing selection of desired heat levels.
Familiarize yourself with the control panel’s layout; it often includes preset buttons for common foods‚ simplifying operation for beginners. Experiment with different settings to understand how they impact cooking results. Remember to always refer to recipe guidelines for specific time and temperature recommendations. A clear understanding of these controls is fundamental to successful NuWave Oven usage.
Temperature and Time Settings
Precise temperature control is crucial for optimal NuWave Oven performance. The oven typically ranges from 100°F to 400°F‚ accommodating diverse cooking needs – from gentle warming to high-heat searing. Adjustments are made via the control panel‚ often in increments of 25°F.
Time settings are equally important‚ allowing for cooking durations from minutes to nearly three days (99 hours on some models). Accurate timing prevents undercooking or overcooking‚ ensuring desired results. Consider food thickness and density when setting the timer; larger items require longer cooking times.
Experimentation is key to mastering these settings. Start with recommended times and temperatures from recipes‚ then adjust based on personal preference and observed results. Remember that the NuWave Oven’s rapid heating can necessitate shorter cooking times compared to conventional ovens. Consistent monitoring and adjustment will yield consistently delicious outcomes.
Cooking Modes Explained (Roast‚ Bake‚ Broil‚ etc.)
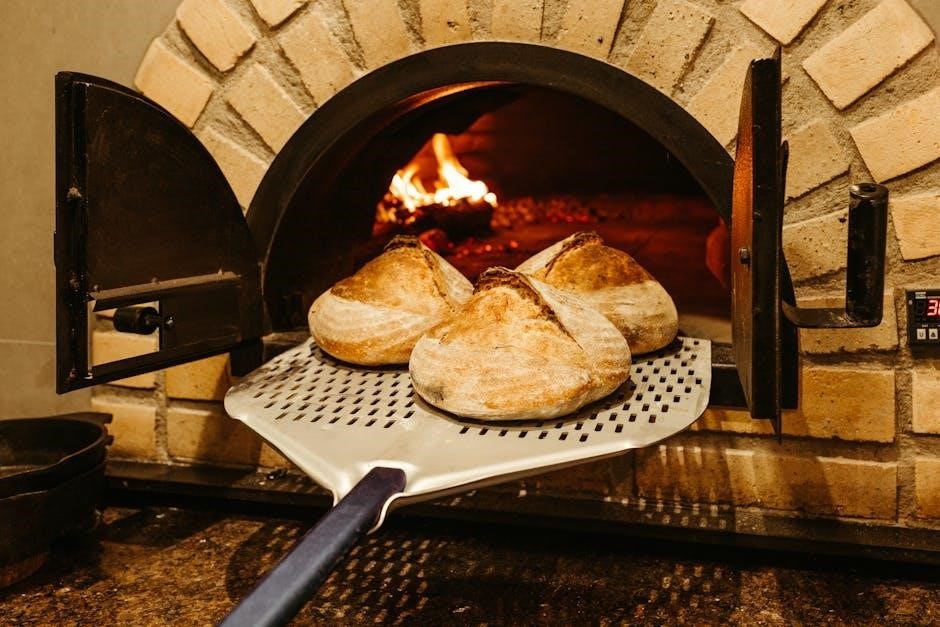
The NuWave Oven offers versatile cooking modes to mimic traditional methods. The ‘Roast’ function excels at achieving browned exteriors and juicy interiors‚ ideal for poultry and meats. ‘Bake’ mode provides even heat distribution‚ suitable for cakes‚ casseroles‚ and breads. While some users report comparable results to conventional ovens‚ others find the NuWave excels at faster cooking.

A ‘Broil’ setting delivers intense top-down heat‚ perfect for melting cheese or browning surfaces quickly. Experimentation is encouraged to understand each mode’s nuances. The oven’s unique heating technology often results in quicker cooking times than standard methods.
Consider the food’s characteristics when selecting a mode. Delicate items benefit from lower temperatures and ‘Bake’‚ while tougher cuts thrive with ‘Roast’ and higher heat. User feedback suggests excellent results with chicken breasts‚ achieving crispy skin in under 30 minutes.

Cooking with Your NuWave Oven
Embrace culinary exploration! From speedy nachos in under four minutes to perfectly roasted garlic‚ the NuWave Oven delivers convenience and surprisingly delicious results for single servings.
Recommended Cooking Times for Common Foods
Achieving optimal results requires understanding suggested cooking durations. Bone-in‚ skin-on chicken breasts benefit from approximately 25 minutes‚ yielding golden-brown‚ crispy skin – a significant improvement over conventional oven methods‚ according to some users.
Roasted garlic cloves‚ tossed lightly in olive oil‚ cook remarkably fast‚ requiring only a fraction of the time compared to traditional roasting. For a quick snack or appetizer‚ nachos can be prepared in under four minutes.
Broccoli‚ when roasted‚ takes around 13 minutes and pairs wonderfully with melted Kerrygold cheese. Remember‚ these times are estimates and may vary based on food thickness and desired level of doneness. Experimentation and a food thermometer are highly recommended for personalized perfection. A whole frozen chicken‚ while possible‚ may require longer times and benefit from seasoning beyond simple salt‚ pepper‚ and Lawry’s.
Using the Extension Ring for Larger Dishes
The extension ring expands the NuWave Oven’s versatility‚ accommodating larger food items or dishes that exceed the standard cooking well’s height. When utilizing the ring‚ remember it increases the overall cooking volume‚ potentially requiring adjusted cooking times.
Ensure the ring is securely and evenly placed on the base before beginning. While it allows for larger portions‚ maintaining consistent heat distribution is crucial. Some users suggest monitoring food closely‚ especially during initial use with the extension ring‚ to prevent uneven cooking.
Consider reducing the cooking time slightly and checking for doneness frequently. The extension ring doesn’t fundamentally alter the oven’s core functionality‚ but it does necessitate mindful adjustments to ensure optimal results. Be aware that cleaning can be more challenging with the added component‚ requiring extra attention to detail.
Recipes: Quick & Easy Meals
Unlock rapid meal preparation with your NuWave Oven! Users rave about its speed for simple dishes. Try a whole chicken – seasoned with salt‚ pepper‚ and Lawry’s – for surprisingly tender results‚ though marinating beforehand is recommended for enhanced flavor.
Nachos cook in under four minutes‚ offering a quick snack or light meal. Roasted broccoli‚ topped with Kerrygold butter‚ is ready in approximately thirteen minutes‚ delivering a healthy side. Bone-in‚ skin-on chicken breasts achieve golden-brown crispiness in just twenty-five minutes.
Roasted garlic cloves‚ tossed in olive oil‚ cook remarkably fast. These examples demonstrate the oven’s efficiency for single-person households‚ eliminating lengthy preheating times. Experiment with your favorite recipes‚ adjusting cooking times as needed‚ and enjoy convenient‚ flavorful meals!

Maintenance and Cleaning
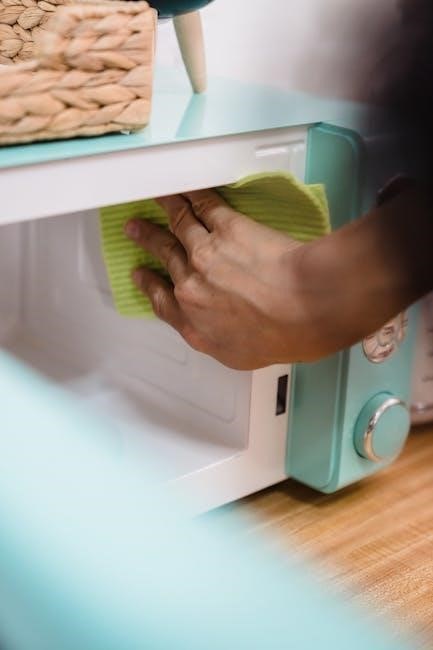
Regular cleaning is crucial for optimal performance. Users note cleaning can be challenging without a large sink‚ but maintaining the cooking well and dome is essential.
Cleaning the Cooking Well
The cooking well requires diligent cleaning after each use to prevent buildup and maintain optimal cooking performance. Begin by ensuring the oven is completely cool and disconnected from the power source. Carefully remove any remaining food particles with a soft sponge or cloth.
Avoid abrasive cleaners or scouring pads‚ as these can damage the non-stick surface. For stubborn residue‚ a mild dish soap solution can be used‚ followed by a thorough rinsing with clean water. Some users have mentioned the difficulty of cleaning due to the well’s size‚ suggesting a large sink is beneficial.
Ensure all soap residue is removed to avoid affecting the taste of future meals. A quick wipe-down after each use will significantly reduce the effort required for a deep clean. Pay attention to the edges and corners where food particles may accumulate. Proper cleaning extends the life of your NuWave Oven and ensures consistently delicious results.
Cleaning the Dome and Other Components
The NuWave Oven’s dome and extension ring also require regular cleaning‚ though with slightly different methods than the cooking well. The dome‚ typically made of stainless steel‚ can be wiped down with a damp cloth and mild dish soap. Avoid immersing the dome in water‚ as this could damage the internal components.
For the extension ring‚ if used‚ follow the same cleaning procedure as the cooking well – gentle cleaning with a non-abrasive sponge and mild soap. Ensure both the dome and extension ring are completely dry before reassembling.
Inspect the power cord regularly for any signs of damage and wipe it down with a dry cloth. Avoid harsh chemicals or abrasive cleaners on any component. Consistent cleaning of all parts contributes to the oven’s longevity and maintains hygienic cooking conditions. Remember to disconnect the oven before any cleaning process begins.
Troubleshooting Common Issues
If your NuWave Oven isn’t heating‚ first ensure it’s properly plugged in and the outlet is functioning. Verify the timer is set correctly‚ as some users report a maximum 99-hour setting. If the oven shuts off mid-cycle‚ check for overheating – allow it to cool before restarting.
Uneven cooking can often be resolved by adjusting food placement or using the extension ring for larger dishes. Difficult cleaning‚ a common complaint‚ can be mitigated by immediate cleaning after use. If you encounter persistent issues‚ consult the manufacturer’s website for FAQs or contact customer support.
Remember‚ some users found the oven’s results comparable or even inferior to conventional ovens‚ so manage expectations. Addressing these common issues proactively will enhance your NuWave Oven experience.

Safety Precautions
Always prioritize safety: ensure proper ventilation‚ avoid oven damage‚ and heed all warnings. Never operate near water‚ and unplug when not in use for secure operation.
Important Safety Warnings
Read all instructions carefully before operating the NuWave Oven. This appliance gets extremely hot during use‚ so avoid touching the cooking surface or the dome while it’s on or immediately after. Always use oven mitts or heat-resistant gloves when handling hot components.
Never immerse the base of the oven in water or any other liquid. Electrical shock hazard exists! Ensure the power cord is not damaged and doesn’t come into contact with hot surfaces. Do not operate the oven if the cord or plug is damaged.
Supervise children closely when the oven is in use. This appliance is not intended for use by individuals with reduced physical‚ sensory‚ or mental capabilities without supervision. Keep the oven out of reach of children when it’s hot; Avoid using extension cords; plug directly into a grounded outlet. Misuse can lead to fire or injury.
Do not use outdoors. Only use the NuWave Oven on a stable‚ heat-resistant surface.
Proper Ventilation and Placement
Ensure adequate ventilation around the NuWave Oven during operation. Maintain at least 6 inches of clear space on all sides to allow for proper airflow and prevent overheating. Do not place the oven near flammable materials like curtains‚ paper towels‚ or walls.
Position the oven on a stable‚ level‚ and heat-resistant surface. Avoid using it on carpets or uneven surfaces. A countertop is generally ideal. Ensure the surface can withstand the heat generated by the oven.
Avoid placing the oven near water sources. Electrical hazards exist. Do not operate the oven in a confined space without sufficient ventilation. Proper placement is crucial for safe and efficient operation. Consider the size of the oven and ensure enough space is available for comfortable use and cleaning.
Never block the vents. This can cause the oven to overheat and malfunction.
Avoiding Damage to the Oven
Protect your NuWave Oven investment by following these guidelines. Never immerse the base or power cord in water or any other liquid. Always unplug the oven before cleaning or attempting any maintenance. Avoid using abrasive cleaners or scouring pads‚ as these can scratch the cooking surface and dome.
Do not use metal utensils inside the oven‚ as they can damage the non-stick coating. Opt for heat-resistant plastic or wooden utensils instead. Avoid dropping or impacting the dome‚ as it is fragile and can crack. Handle with care during cleaning and storage.
Never operate the oven without the dome properly in place. This is essential for proper cooking and prevents potential damage to the heating element. Be mindful of the hot surfaces during and after operation to prevent burns and potential damage to surrounding items.
Regular cleaning prevents buildup and extends the oven’s lifespan.

Leave a Reply
You must be logged in to post a comment.